
Using the Arbimon Uploader App
About the Arbimon Uploader
If you are planning to upload large amounts of data to Arbimon, we recommend you use the Arbimon Uploader desktop app. The Uploader App ingests WAV or FLAC files and imports them into the Arbimon cloud. This is done in the background, so you can do other tasks on your computer while the upload job is running.
Please note that the Uploader App will automatically split files into 1-minute recordings. So, if your files are each 5 minutes, the Uploader App will import this as 5 different 1-minute files. This is done as 1-minute files are the basis of data management and analyses in Arbimon, and are also a good size recording to be able to visualize in the spectrogram Visualizer page.
Note that Arbimon will still retain the original filename that each 1-minute file came from, and adjust the timestamp to reflect that 1-minute start time. You can see this if you upload recordings and go to Explore, then Recordings and look at the ‘Recorded Time’ and ‘Filename’ columns. In the example below, all 5 recordings came from the same original file.

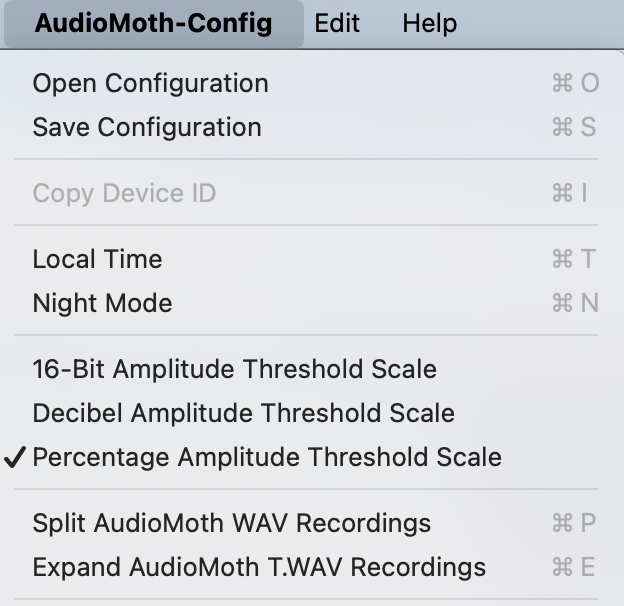
The Arbimon Uploader App can handle individual files up to 200MB each (approx. 1-hour files). Files that are each larger than 200MB should be split before uploading to Arbimon (If you used Audiomoths, you can do this in the Audiomoth configuration app by clicking ‘Split Audiomoth WAV Recordings’ in the menu).
You can download the Uploader App for Mac or Windows. After downloading, an app icon that looks like this will appear in your Applications.
After downloading the Uploader App, follow these steps to upload your recordings.
How to Use the Arbimon Uploader
1. Open the Arbimon Uploader app and sign in using your Arbimon credentials.
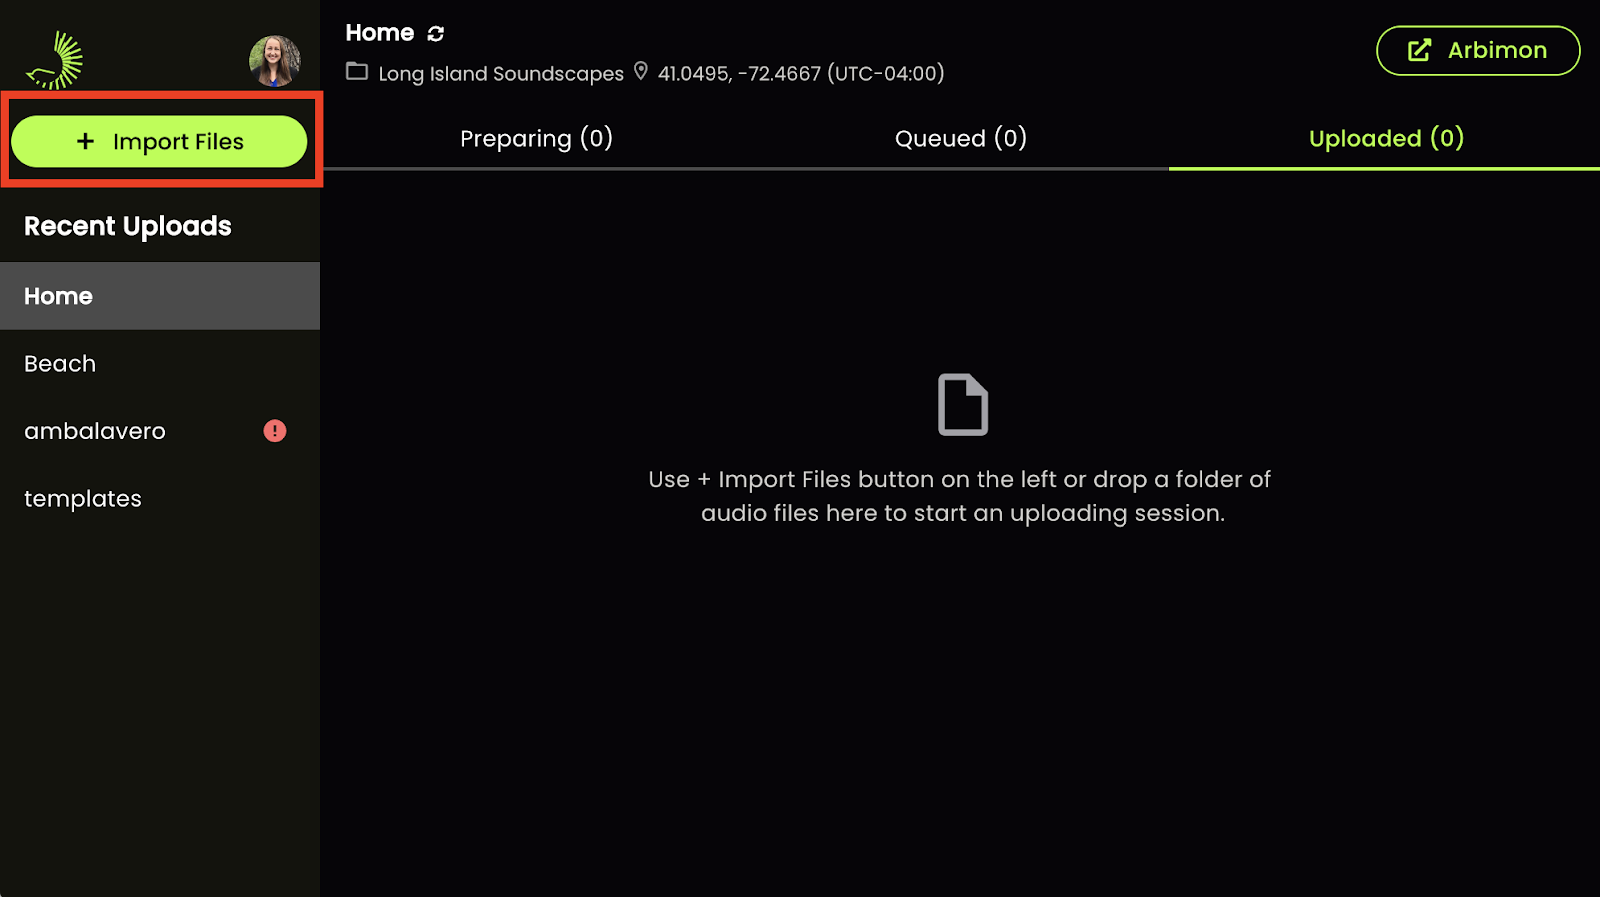
2. Click Import Files.
3. You can choose to import files directly from an SD card or from a folder/files on your computer, hard drive, or USB.
Note: If you deployed your devices using the RFCx Companion app, the Uploader app will automatically detect the name of the project and the site.

4. When you select the input, the Uploader App can identify the recorder type from the files’ metadata, and you will see the recorder type listed (like below, with ‘Audiomoth’). Click Next.
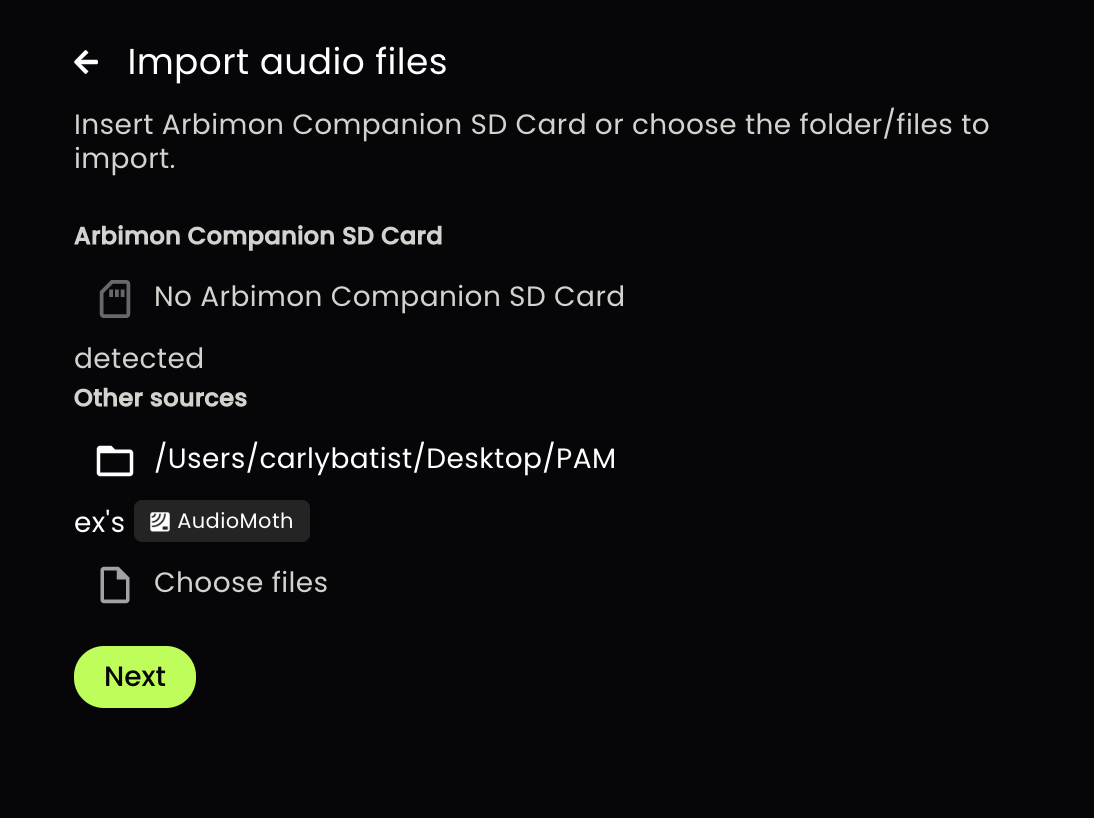
The Uploader App can recognize the following recorder metadata: Audiomoth, SongMeter, Swift, Guardian.
5. Select the Project and the Site that you want your recordings uploaded into. If you have already added sites to the project, they will be listed in the dropdown.
If you want to create a new site for your recordings to be uploaded into, start typing a name for that site. An additional dropdown will appear, showing ‘Create New Site: ____’. You will then need to add the latitude and longitude for that site.


Click Create.
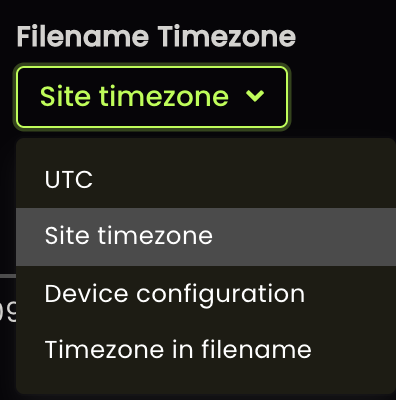
6. The input files will then be listed under the Preparing tab. You will need to select the filename format and filename timezone.
The filename format can be set to 'Auto-detect' or 'Custom'. In most circumstances, the Filename Format can be set to ‘Auto-detect’, which automatically detects several conventional filename formats (Audiomoth, SongMeter, Swift, Frontier Lab BAR).
If your recordings are NOT from one of these recorder types, you can use a Custom filename format, (see the Custom Filename help page for more info on how to do this).

The filename timezone can be set to UTC, Site Timezone, Device configuration, or Timezone in Filename. Make sure that the timezone you select is the same as the timezone option you selected when configuring your recorder!
- UTC = files set to UTC time
- Site Timezone = files set to the timezone of the site you are uploading to
- Device configuration = files set to the timezone listed in the file metadata
- select this if you are uploading files from an Audiomoth or SongMeter
- Timezone in filename = files set to the timezone included directly in the filename
- select this if you are uploading files from a Frontier Labs BAR
After the Filename Format and Filename Timezone are set, click Start Upload.
6. When the upload has started, each file will be moved to Queued until the upload is completed.

7. After a file is uploaded, it will be moved to the Uploaded tab. Within this tab, you will see the number of files that are verified, completed, and failed. A progress bar will also appear in the bottom-left corner that shows the status of the total upload job.
The progress bar in the bottom-left corner will show ‘Completed’ once the entire upload job is completed. After you are done uploading recordings, go to the Arbimon project page.

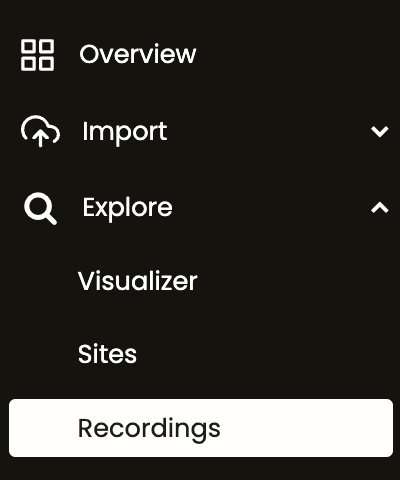
8. You can see recordings uploaded from the RFCx Uploader app by going to the project menu and clicking Explore then Recordings, where a list of the recordings will appear.

**Please always keep a back-up copy of your data even after uploading recordings to Arbimon.**
Note: You can view the site timezone and file metadata in the tooltip of the Recorded Time and Notes columns.


Note: If you're unsure whether the recordings were made in UTC or local time, you can verify the date and time format in the AudioMoth metadata by visiting this link.