
Adding a Site
A Site refers to a sampling or deployment location (i.e., where you put a recording device). After you create a project, you will want to add sites within it so that you can upload recordings to those sites.
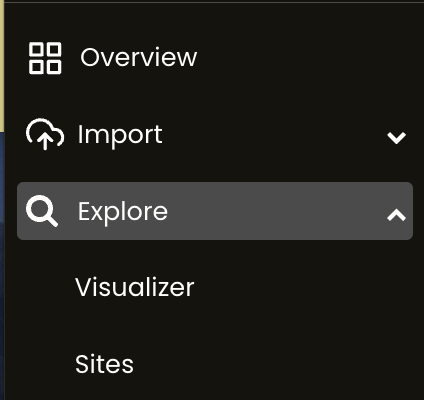
1. To create a site, go to the menu and click Explore, then Sites.
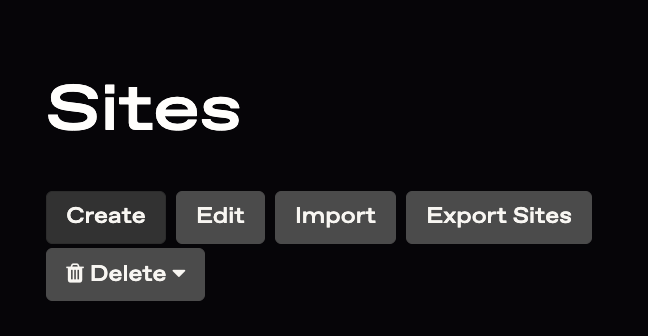
2. Click Create to add an individual project site. If you want to import multiple sites at once, follow the steps on the Bulk Site Import page.
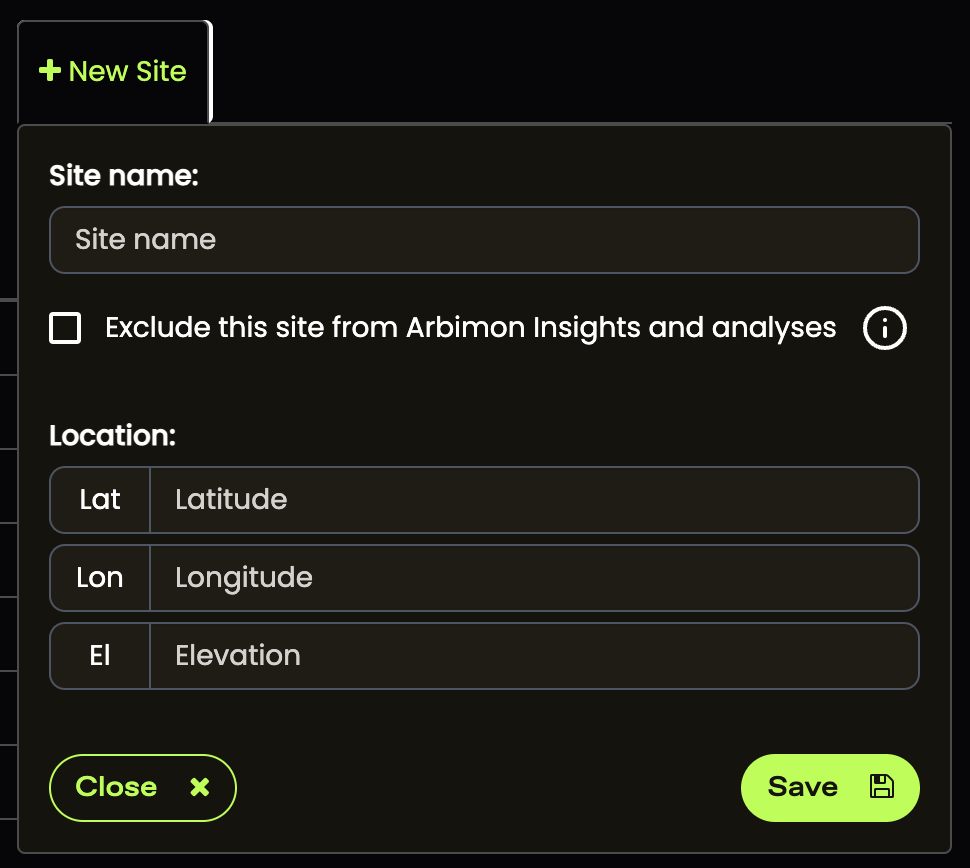
3. Assign a name (keep it short) and add the GPS coordinates (in decimal degrees) and elevation. You can create 'hidden' sites which do not have coordinates by clicking the checkbox. Hiding sites is good if you are creating test sites or sites just for importing external templates (such as those from Xeno-Canto, iNaturalist, etc.). If the checkbox is checked, you can save the site without inputting coordinates. If you have not not checked the box and are creating a 'real' site, you will need to input coordinates.
Please note that data from hidden sites (species, validations) will be hidden from the Ecological Insights pages.
The site will then be included in the list of sites.
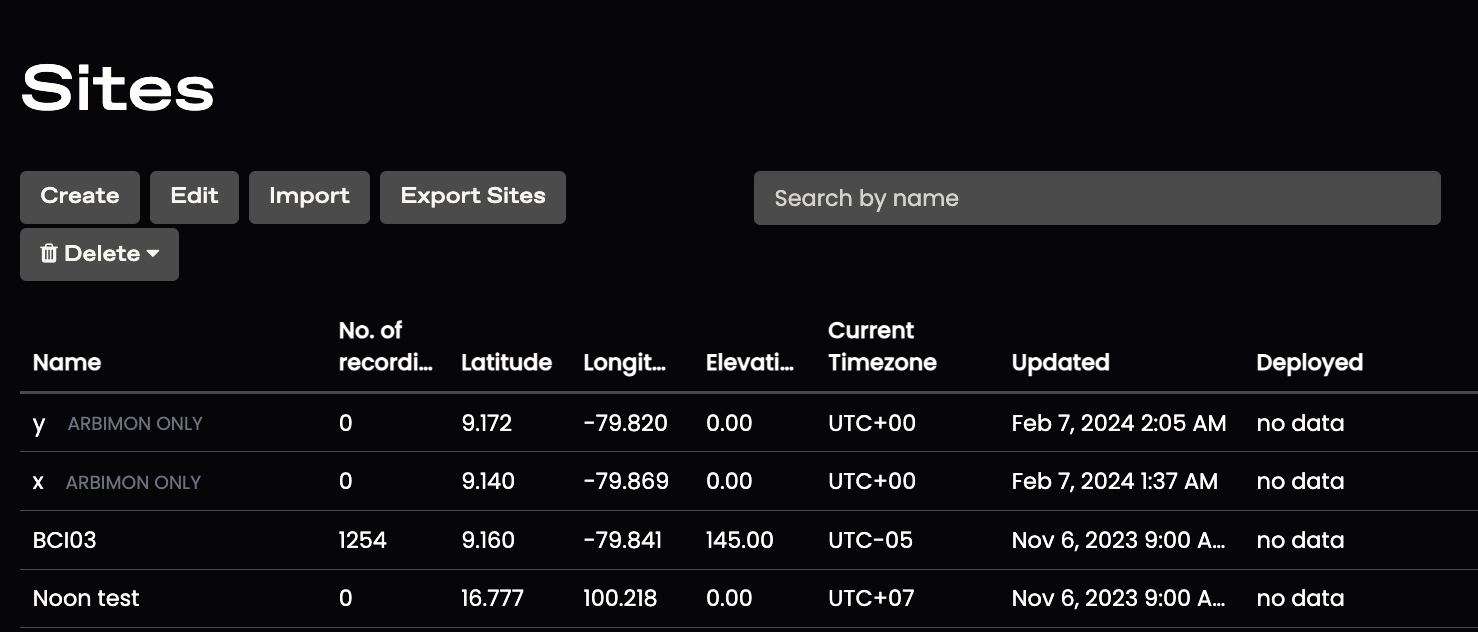
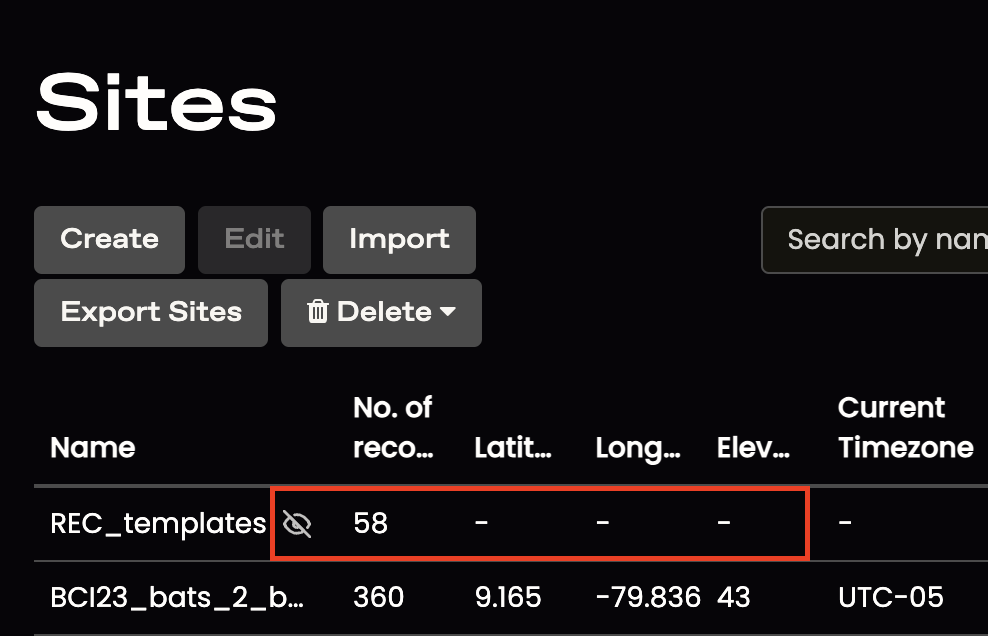
If you have hidden a site, you will see an icon next to that site indicating this. You will also see that hidden sites do not have latitude, longitude, or elevation values.
You can edit a site's information by clicking on that site’s row and then clicking Edit. To delete a site, click on that site’s row and then click Delete.
Tip: If you want to bulk-import your sites, you can do that by following the instructions on the Bulk Site Import page.
Note: You may see an ARBIMON ONLY badge appear for sites created prior to April 2021. This badge means that this site will not be visible using the Companion app or the Uploader.
