
Creating an Audio Event Detection Job
The first step in the AED-C pipeline is Audio Event Detection (AED), where audio events are automatically detected in recordings, using a suite of user-defined parameters.
You must create a playlist before starting Audio Event Detection (AED). For testing out AED parameters, please use a small playlist (e.g. 100 recordings) to conserve resources and keep Arbimon free. Please note there is currently a playlist size limit of 2,000 recordings for AED jobs. If you need to run AED jobs on a larger playlist, please reach out to us (contact@arbimon.org)
How to Run an AED Job
1. Go to the project menu and click on Audio analyses, then Audio Event Detection.
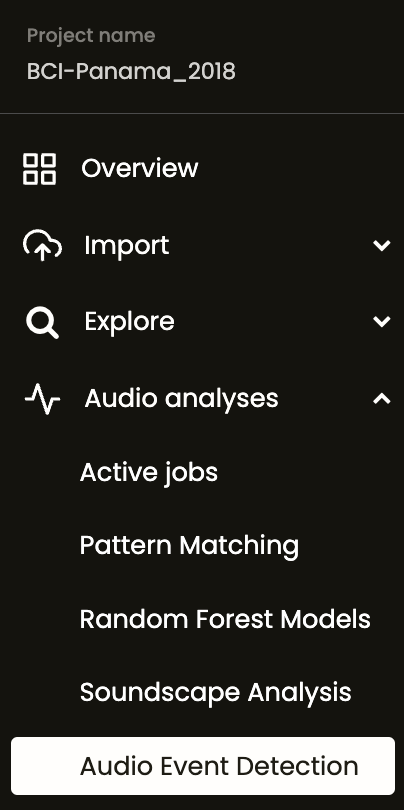
Click New Job.

2. Set the parameters for the AED job

- Job Name - A name to identify the job by.
- Playlist - The name of the playlist to analyze. For testing different parameters, please use a small test playlist (e.g. 100 recordings) to conserve resources and keep Arbimon free.
- Amplitude Threshold - The minimum amplitude of detected events. The Amplitude Threshold will set the minimum amplitude of sound events to detect and is likely the most critical parameter to tune. It is measured in standard deviations from the mean amplitude of the spectrogram after de-noising.
- Appropriate values are likely between 1-3.
- Min/Max Frequency - The minimum and maximum frequency of sound events to detect (kHz).
- Advanced Parameters
- Duration threshold - Minimum duration (seconds)
- Bandwidth threshold - Minimum frequency bandwidth (kHz)
- Area threshold - The minimum area of an audio event in (kHz * seconds)
- Filter size - The size of the filter used to de-noise the spectrogram (pixels). Increasing/decreasing this can expand/tighten the boundaries of events. For example, this can be used to determine whether adjacent syllables of a call are detected as a single event (increased filter size) or separate events (decreased filter size).
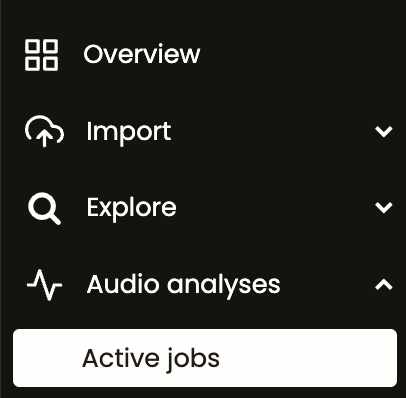
After you have finished selecting the parameters, click Start Job. You can view the status of the job by going to the project menu and clicking Audio analyses, then Active Jobs.
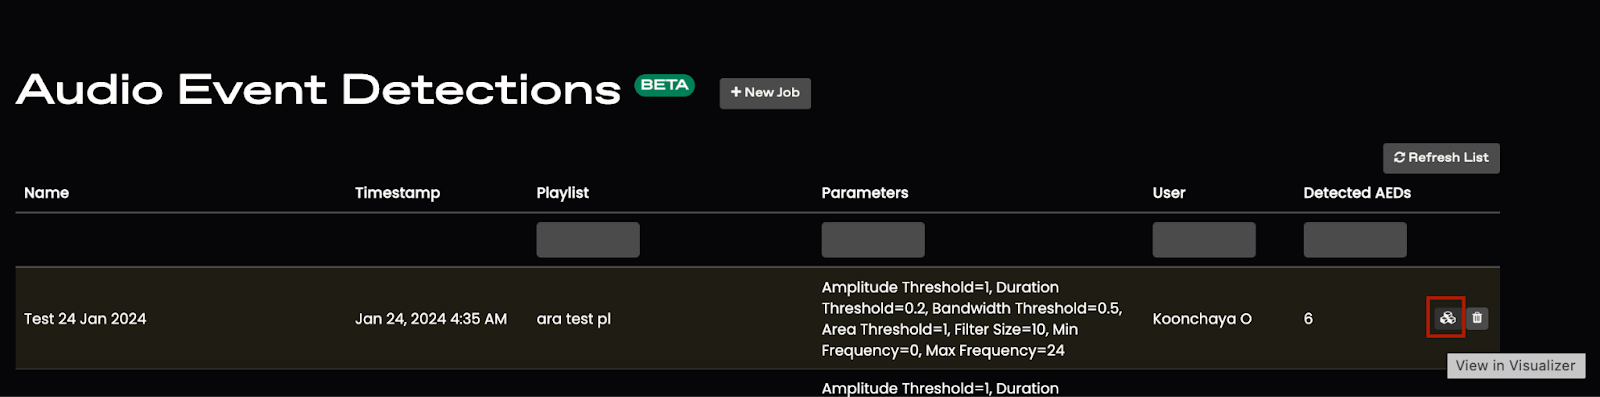
3. Once your AED job is completed, it will be listed in your Audio Event Detection page. You can click on the box icon to view the audio events detected in the recordings in the Visualizer.
This will open the Visualizer. On the left, go to Audio Events to view all the AED-jobs that have been run on this recording. You can show or hide each job’s detections using the eye icons next to each AED job. In this way, you can assess the effects of different job parameters.

4. After finding parameters that are accurately detecting sounds of interest in a relatively small playlist, you can analyze a larger dataset.