
Running a Pattern Matching Job
What is Pattern Matching?
Arbimon Pattern Matching is a simple and efficient tool for automated sound detection, requiring only a single example of the target sound. The target sound example (template) is used to quickly search a playlist for similar signals using a cross-correlation algorithm.
The results can be visualized as a grid of spectrograms and easily validated as true and false positives. Several options for sorting, filtering, and grouping are available. Validated Pattern Matching results can be very useful for building more complex sound detection models.
View our Pattern Matching Best Practices here.
How to Create a Pattern Matching Analysis
To create a pattern matching job you’ll need to first Create a Template.
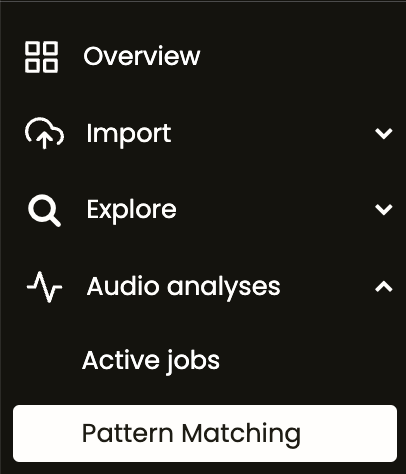
1. In the project menu click Audio analyses, then Pattern Matching. Click New Job.

2. Set the parameters for the PM job.
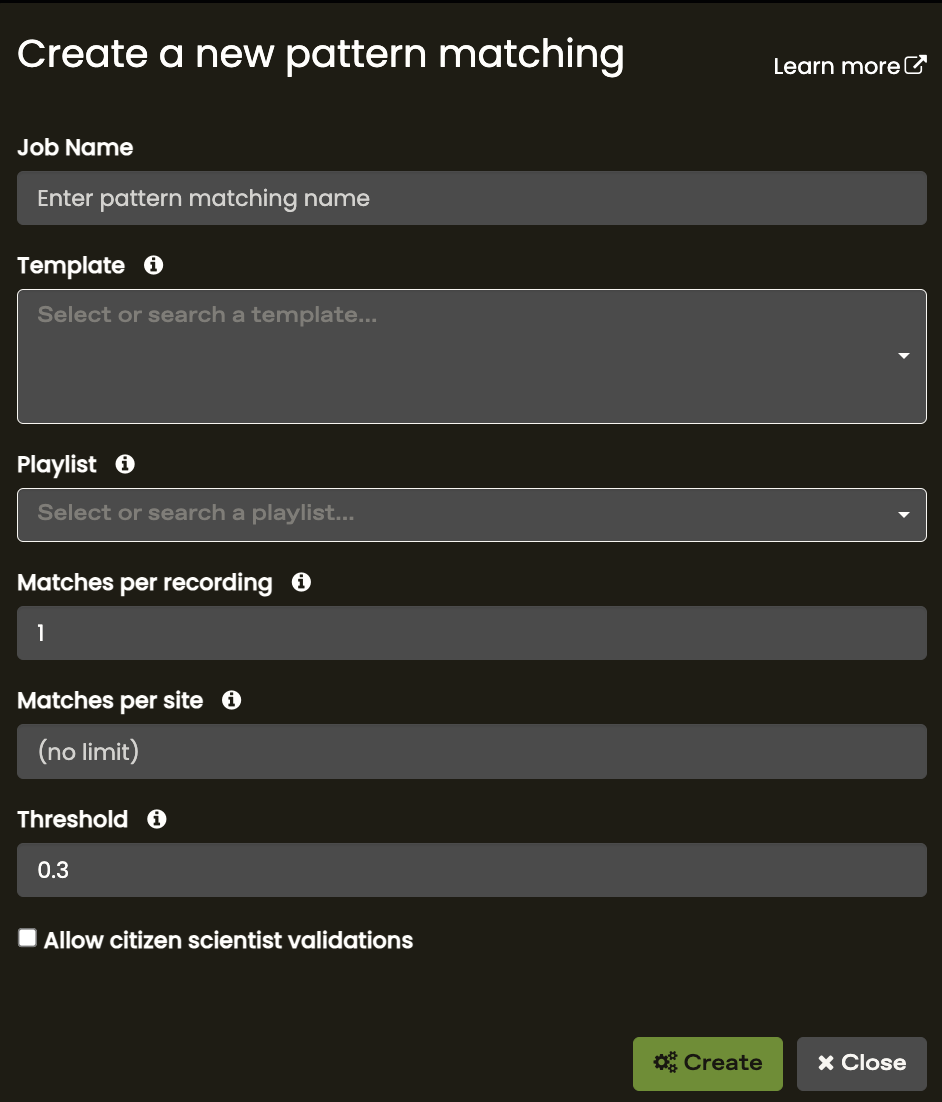
- Name: name to identify the job
- Template: the template to search for matches of
- Playlist: the playlist to analyze
- Matches per recordings: the maximum number of matches per recording. The highest-scoring matches are saved
- We recommend using 3
- Matches per site: the maximum number of matches per site. The highest-scoring matches are saved
- We recommend leaving this at ‘no limit’.
- Threshold: similarity (i.e. correlation) threshold for a match to be detected
- Low threshold values (~0.1 – 0.2) will likely include many false positives, but may capture variations in the call type. In contrast, a high threshold value (~<0.4) will reduce the number of false positives.
- We recommend starting with 0.2
3. Click Create to initiate the job.
You can view the status of the job by going to the project menu and clicking Audio analyses, then Active Jobs.

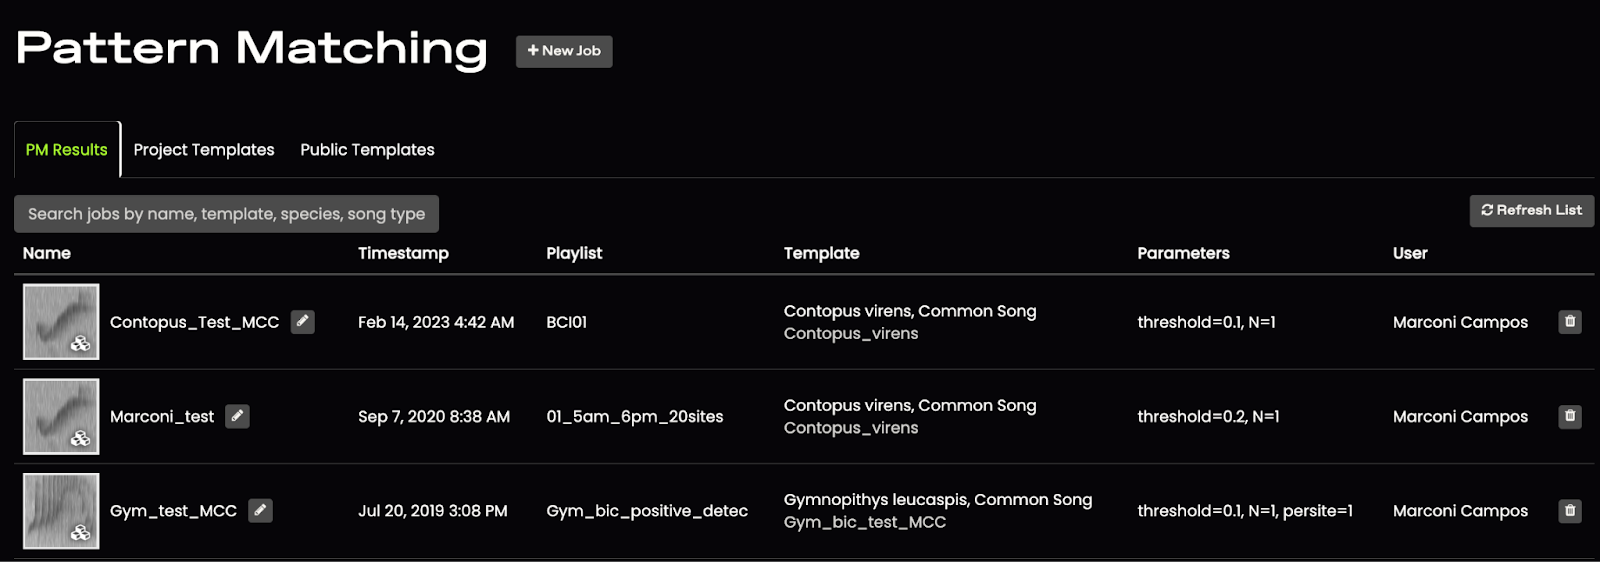
4. Once the PM job is completed, it will be listed in your PM Results page. Click on the row of the job you would like to explore.
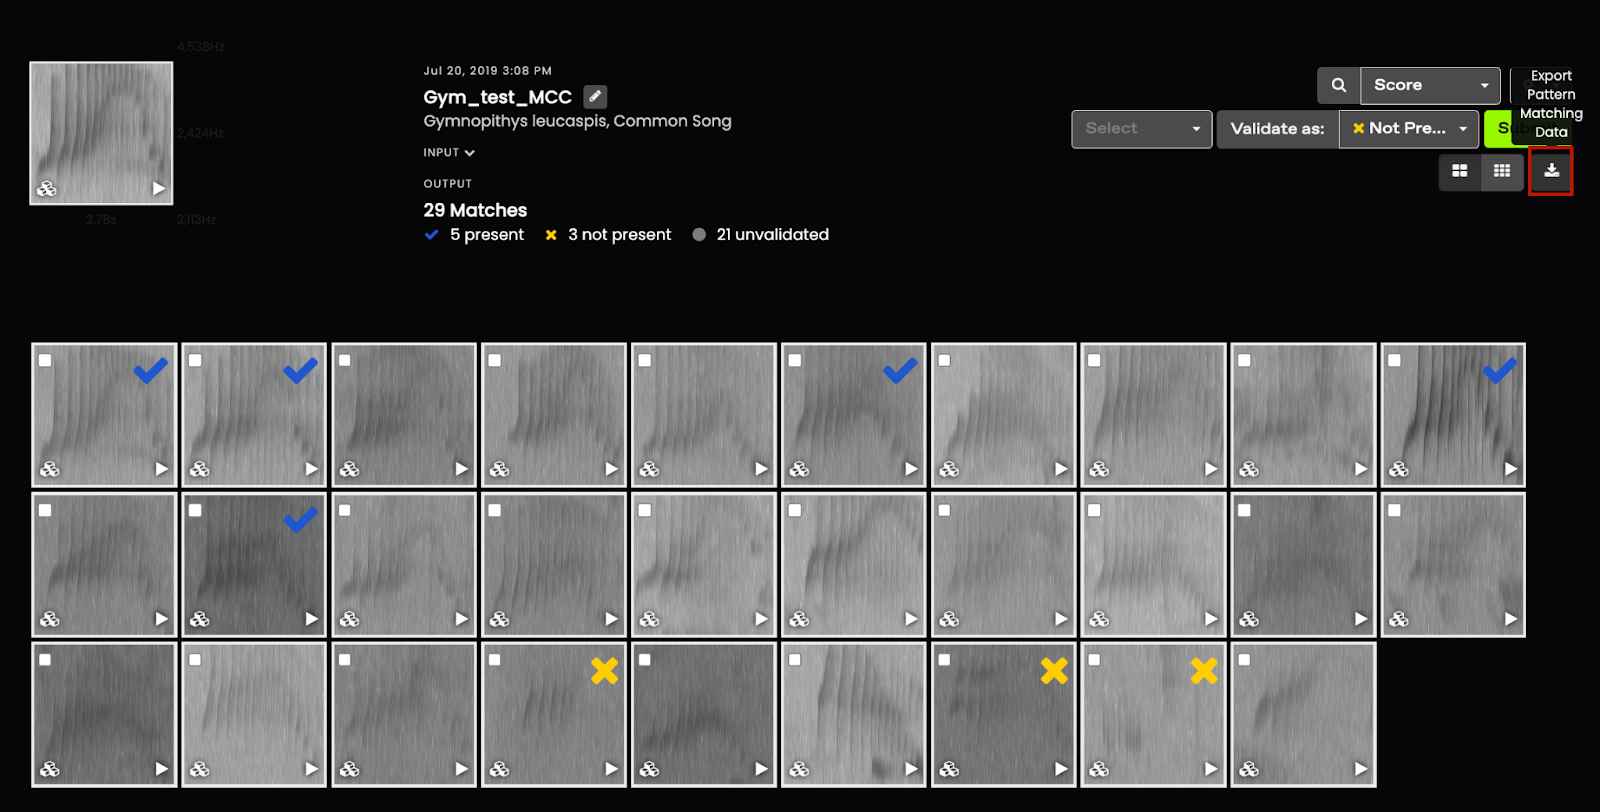
5. You will then see the PM validation page. You can listen to detections by clicking the play button (yellow square). To see the match in its original recording, click on the Visualizer icon (red square).
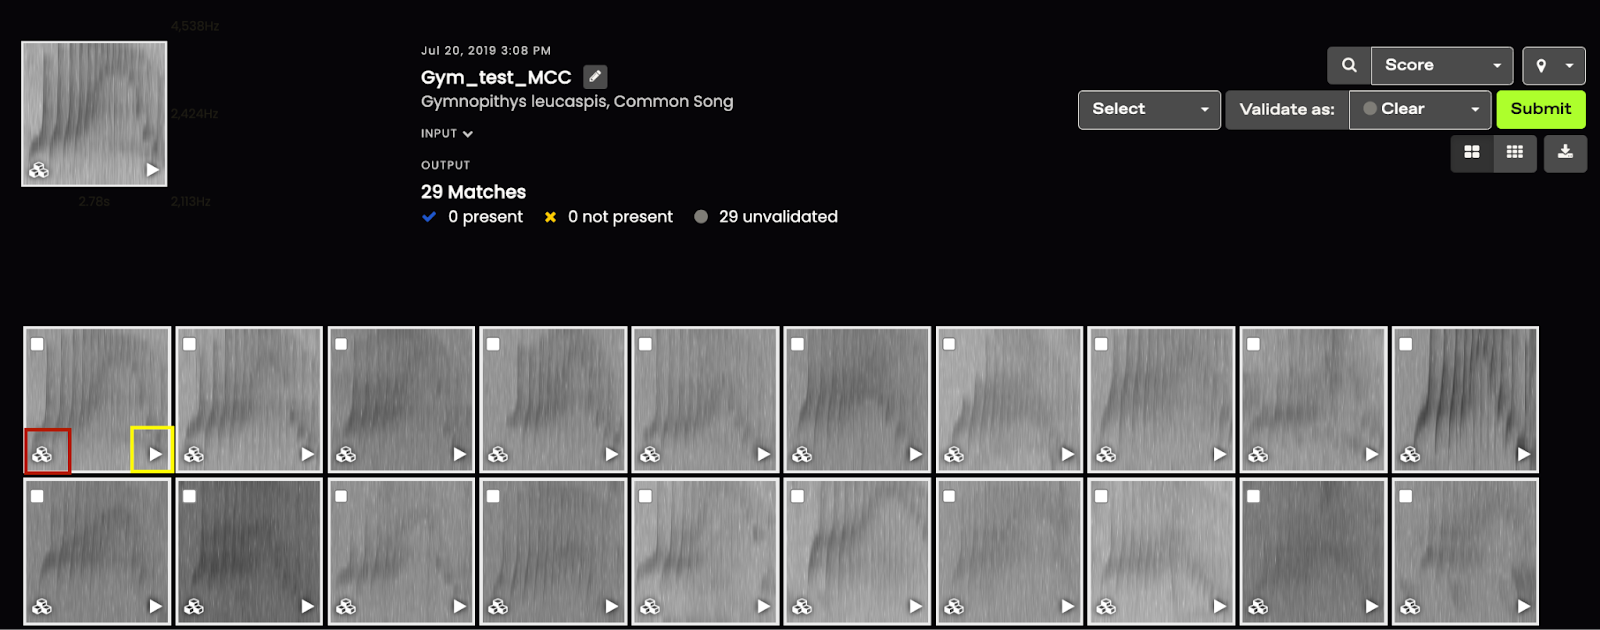
6. To validate detections as a true or false positive, click on their images, select a validation from the drop-down next to Validate as [present, not present] and click Submit.
You can also bulk-validate an entire page of matches by clicking Select, then All.

There are a suite of filters you can use to help you sort through potential matches as you validate PM jobs. These include Best Match per Site, Best Match per Site per Day, Best Score, Best Score per Site, Best 200 Scores per Site.

After you have validated PM jobs, the matches marked as ‘Present’ will appear in the Visualizer under Species Presence Validation.

7. The detection and validation can be downloaded in CSV format by clicking on the Download icon.
This will download a spreadsheet that looks like this, where each potential match is a row and the columns show information about the original recording that match came from, the bounding box coordinates that define the bounding box around the potential match, and how that has been validated (present, not present, or unvalidated).

If you would like to download the results of all the PM jobs in your project, go to the Pattern Matching Results page and click on 'Export all results'.

You will be prompted to input an email where the resulting CSVs will be sent. The export will be a zipped folder containing a CSV file for each of the PM jobs in the project.