
Creating a Random Forest Model job
How does a Random Forest Model work?
The RFM approach creates a correlation vector between the training set pattern (call template) and spectrograms of the validated recordings. In this step the template traverses each spectrogram and produces a vector of similarities for each recording (i.e. correlations between the template and sections of the spectrogram).
In the next step, Arbimon extracts 13 features from the correlation vectors of the validated recordings: mean, median, minimum, maximum, standard deviation, maximum-minimum, skewness, kurtosis, hyper-skewness, hyper-kurtosis, histogram, and cumulative frequency histogram. These 13 features, along with the presence/absence data, are the input to the Random Forest Models.
How to Create a Random Forest Model
In order to run the Random Forest model Algorithm you must first Create a Training Set.
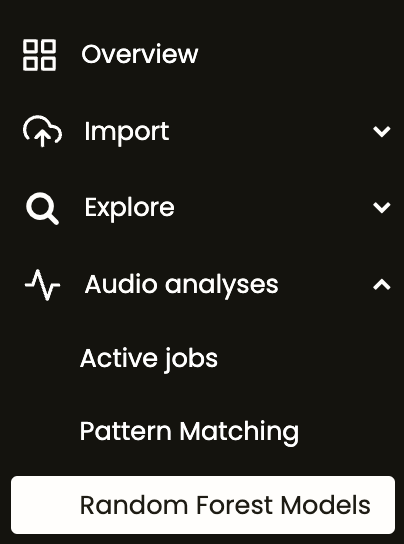
1. Go to the project menu and click Audio analyses, then Random Forest Models. Click on New Job.

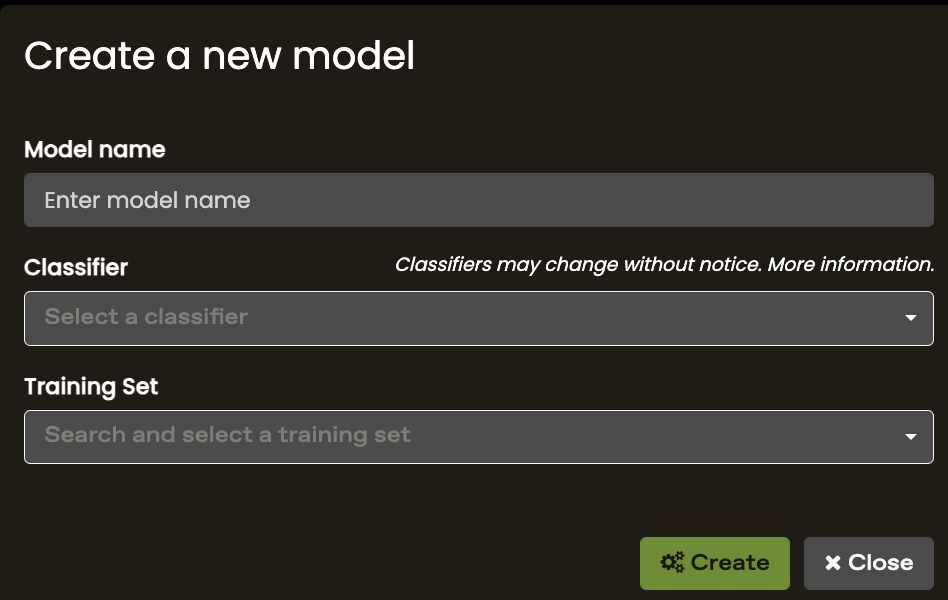
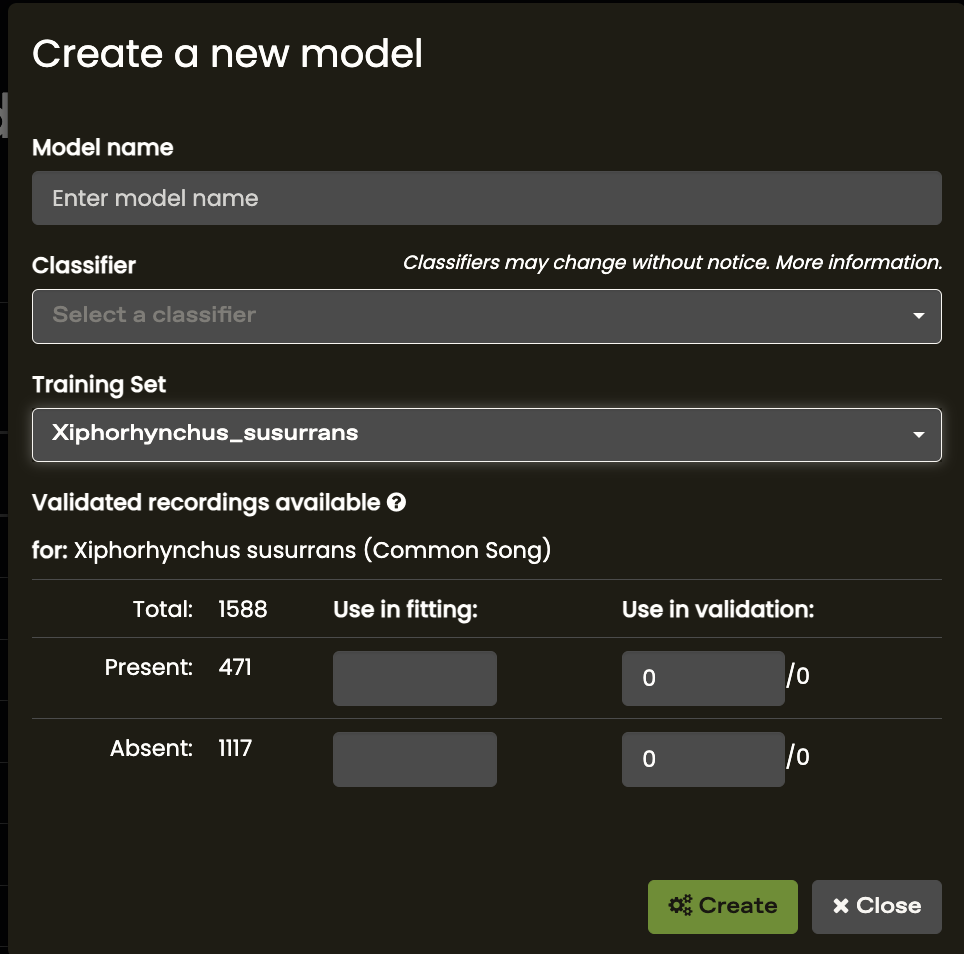
2. Assign a name for the model and choose the training set (which includes the call template/ROIs and the validated presence/absence data).
The validated data is divided into two groups:
- Use in Fitting - Recordings that will be used to create the model
- Use in Validation - Recordings that will be used to validate/verify the model
We recommend using 70-80% of validations to fit the model and 30-20% of validations to validate the model. For a correct interpretation of model statistics (i.e, accuracy and precision) an equal number of present and absent validations should ALWAYS be used in validation.
Tip: If your model outputs too many false positive results, you can increase the number of absent validations to Use in Fitting to improve the model’s precision.
3. Click Create to start the job.
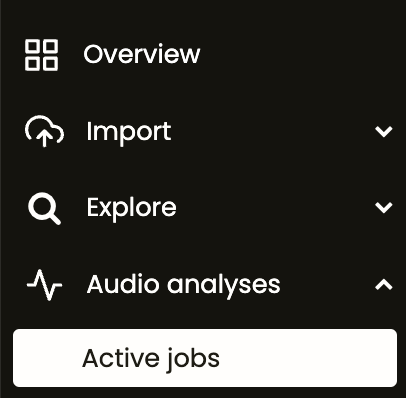
You can view the status of the job by going to the project menu and clicking Audio analyses, then Active Jobs.
4. The new model will appear in the RFM list. Click on Show Details to view your results.
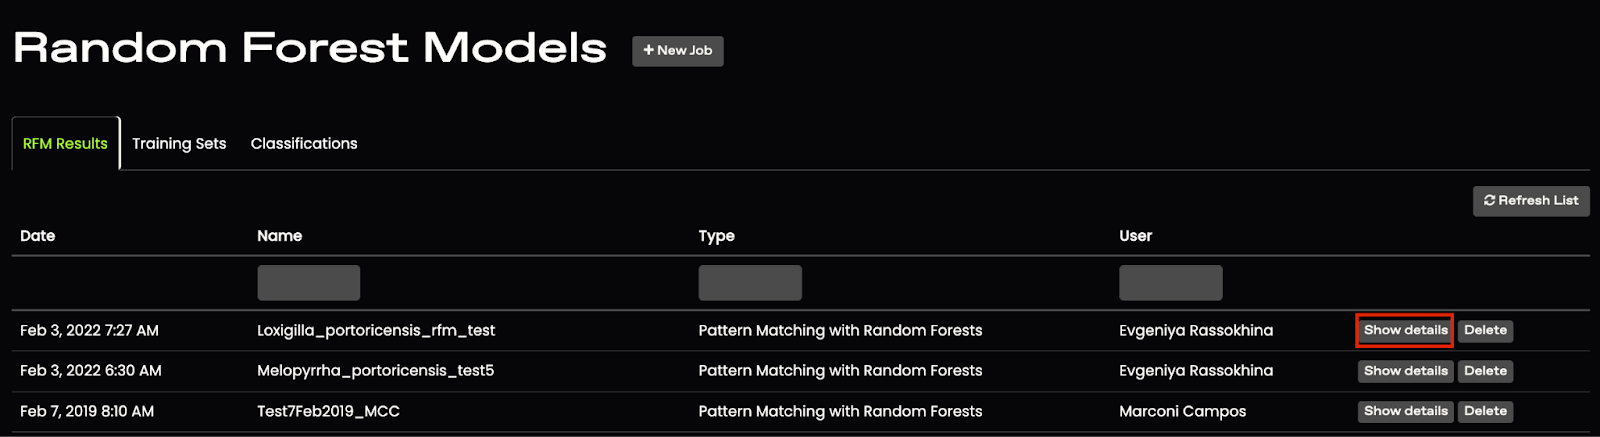
5. The Model Details section shows information about the job and its inputs.

The Training set section shows information about the training set pattern.
6. The Model Validation section will show different model performance statistics.

- Accuracy indicates overall how often your classifier is correct
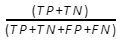
- Precision indicates how often your classifier is correct when it predicts that the species is present

- Confusion matrix: each column of the matrix represents the number of cases or values in a predicted class, while each row represents the values in an actual class.

7. The Threshold Details section allows you to set new correlation thresholds and recalculate the model results with these.

- Applying a threshold is an alternative approach that is based on setting manually the maximum similarity correlation level of the necessary vectors to assign a recording as having a positive detection.
- You can enter a new threshold and click Recalculate to observe the changes in the confusion matrix. You can then save an assigned threshold with the job by clicking Save Current Threshold.
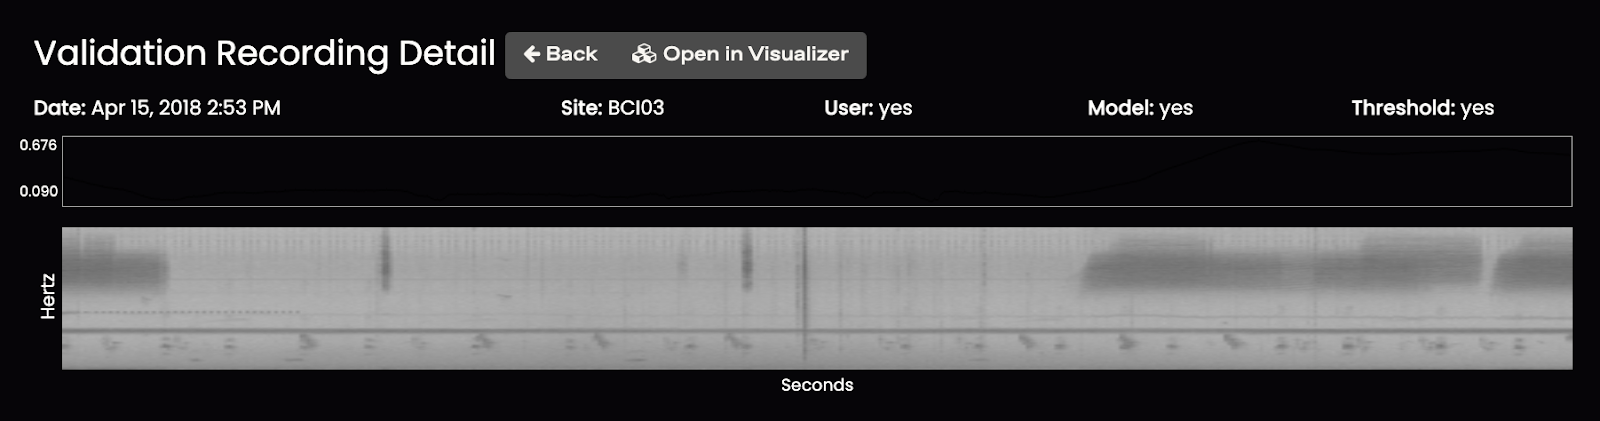
8. The Validations section allows you to explore recordings where your validated presences and absences did not coincide with the RFM results.
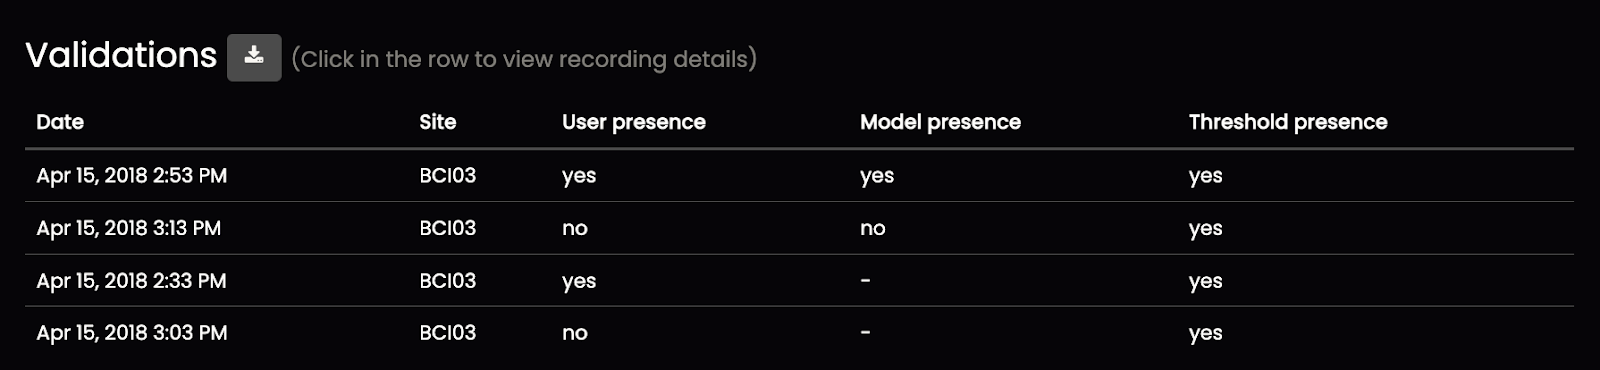
You can download these results as a spreadsheet by clicking on the Download icon. This will give you a spreadsheet that looks like this.

Next, you are ready to use your RFM to run a classification over a specific playlist!